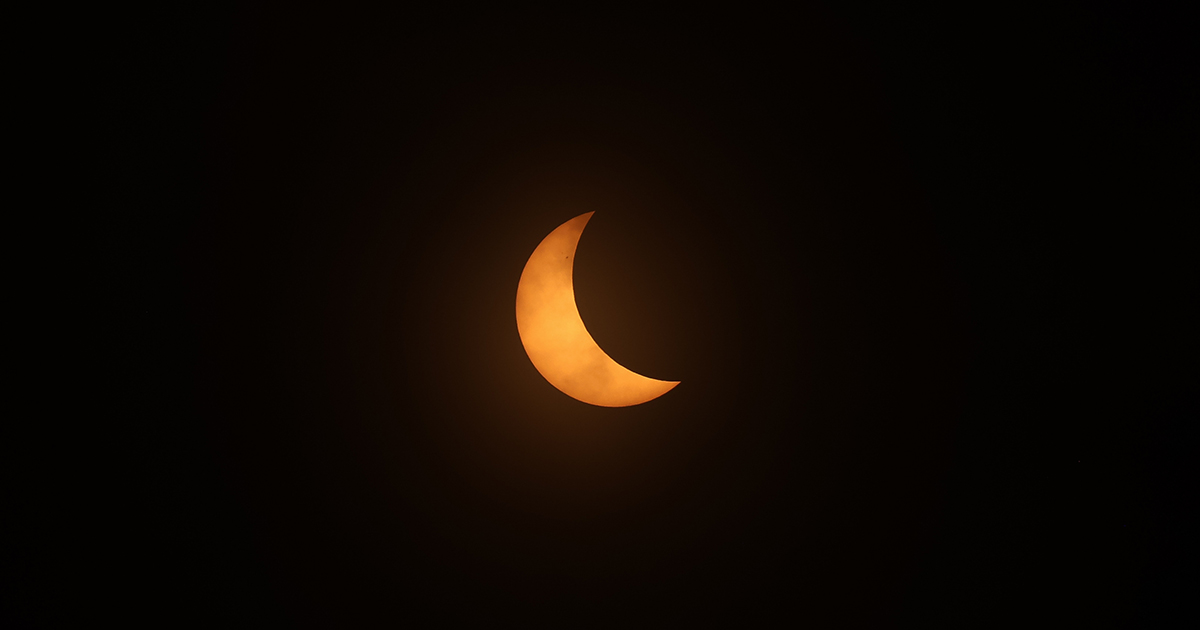

The last time mainland Europe witnessed a total solar eclipse, the Concorde was still flying and people were printing directions from MapQuest. The August 12, 2026 total solar eclipse is the first total solar eclipse visible over mainland Europe since 1999, which means a generation of Europeans has grown up without ever standing in the Moon’s shadow. That is about to change, and a staggering number of people are going to be watching without the right kit.
On August 12, 2026, a total solar eclipse sweeps across Greenland, Iceland, the Arctic Ocean, the Atlantic Ocean, Spain, and a small corner of Portugal. According to the National Solar Observatory, much of the rest of the Northern Hemisphere, including parts of the United States from Alaska to North Carolina, most of Canada, much of Europe, and northwestern Africa, will experience a partial solar eclipse that day. Whether you’re booking a flight to Bilbao or watching from a garden in Edinburgh where the Sun will be more than 90% covered, the equipment you bring determines whether you actually see anything worth remembering, or spend the afternoon squinting at a smudge.
A solid solar eclipse kit doesn’t require a second mortgage. The gear ranges from a pair of certified glasses costing under $5 to smart telescopes that automate almost everything for a few thousand dollars. What matters is matching your kit to your situation: where you’re watching from, whether you’re traveling, and how deep you want to go. Here’s exactly how to do it, tier by tier.
1. The Bare Essential: ISO-Certified Eclipse Glasses (Under $20)
No solar eclipse kit starts without this. When watching a partial or annular solar eclipse directly with your eyes, you must look through safe solar viewing glasses or a safe handheld solar viewer at all times. Eclipse glasses are not regular sunglasses. According to NASA Science, regular sunglasses, no matter how dark, are not safe for viewing the Sun. Safe solar viewers are thousands of times darker and ought to comply with the ISO 12312-2 international standard. If a pair of glasses doesn’t carry it, put them back.
Before every major eclipse, counterfeiters flood online marketplaces with cheap glasses that claim ISO 12312-2 certification. Many copy legitimate certificates or simply print “ISO” on unsafe products. Fake glasses that do not meet the ISO standard provide no reliable protection against solar radiation. The safest way to avoid them is to buy from a supplier recognized by the American Astronomical Society, which maintains a vetted list of approved manufacturers. Brands like Lunt Solar Systems and American Paper Optics (which makes glasses for Rainbow Symphony) appear on that list and are widely available at prices ranging from about $5 to $20 per pair.
Before you use any pair, hold them up to a bright indoor light before going outside. Always inspect your eclipse glasses or handheld viewer before use; if torn, scratched, or otherwise damaged, discard them. A pinhole is enough to let through a beam of concentrated solar radiation, and you won’t feel the damage happening. The retina has no pain receptors. For a family of four watching a partial eclipse from a city park, four pairs of certified glasses costing around $15 total is the most important $15 you’ll spend all year.
2. The DIY Option: Pinhole Projection (Under $5)
Not everyone wants to wear cardboard glasses, and for families with young children who might pull them off mid-viewing, pinhole projection is a genuinely useful alternative. The concept is simple: instead of looking at the Sun directly, you project its image onto a surface. For schools, youth groups, or families on a budget, pinhole projection is the safest viewing method of all.
The classic setup uses two pieces of white card. Poke a small, clean hole (about 1-2mm) in one piece with a pin or a sharpened pencil. Stand with your back to the Sun, hold the card with the hole up over your shoulder, and let the Sun’s light pass through it onto the second card held in front of you. The image of the Sun, including the Moon’s bite out of it, appears projected there in miniature. The further apart you hold the two cards, the larger but dimmer the image. About 50cm apart produces a crisp, coin-sized projection. You can also use a colander, which creates dozens of projected eclipse images at once through its holes, or project through binoculars without looking through them (point them at the Sun, project the image out the eyepiece end onto a piece of paper behind).
Projection through binoculars or a telescope works only when the light exits the eyepiece and falls on a screen behind the instrument. Solar eclipse glasses and handheld viewers are for direct viewing with your eyes only. They are not substitutes for front-mounted solar filters on magnifying equipment. Looking through binoculars or a telescope while wearing eclipse glasses is dangerous because concentrated sunlight can burn through the filter and injure your eyes. Projection sidesteps that problem entirely by removing your eyes from the optical path.
3. The Step Up: Solar Filter Film for Binoculars or a Camera (Around $20-$60)
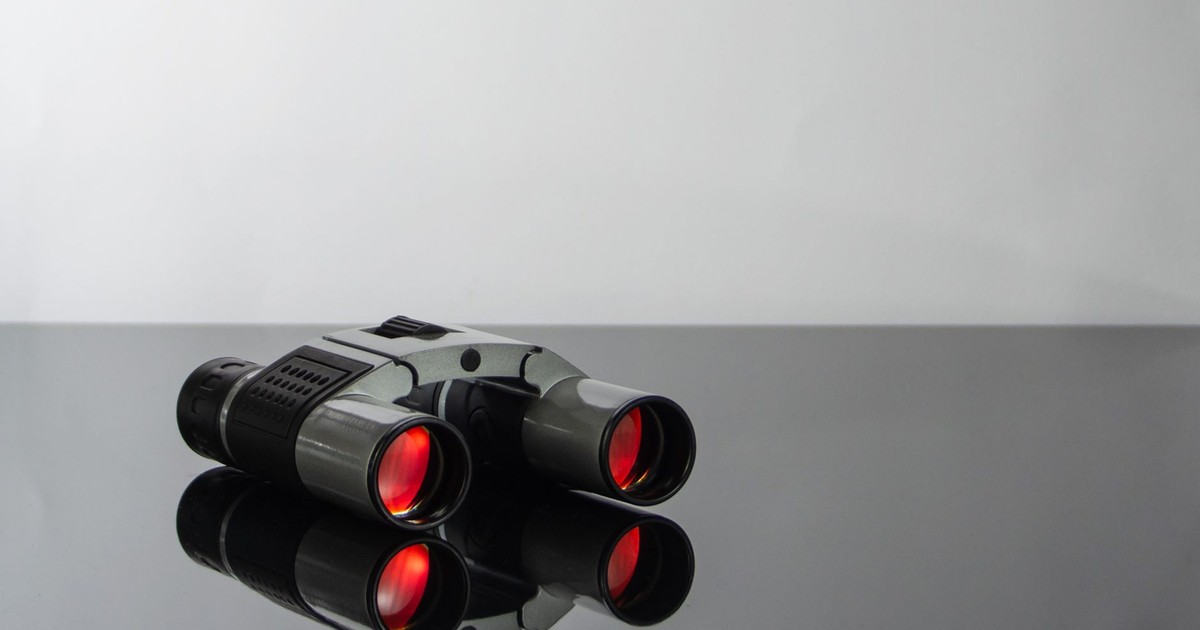
If you already own binoculars or a camera with a telephoto lens, you’re closer to a genuinely impressive solar eclipse kit than you think. The missing piece is a sheet of solar filter film, and the most trusted brand in this space is Baader AstroSolar Safety Film. White-light solar filters such as Baader AstroSolar Safety Film block 99.999% of sunlight and show the Sun in its natural pale-white colour, revealing sunspots, the granular surface, and the crisp bite of the Moon’s silhouette.
A sheet of Baader film costs around $20-30 and can be cut to fit the front aperture of almost any binoculars, camera lens, or small telescope. You tape or band it securely over the front objective, the end that faces the Sun, and the filtered light then travels through your optics normally. These filters fit over the front of your telescope, binoculars, or camera lens, never at the eyepiece, where concentrated heat can crack the filter and blind you instantly. The Sun’s heat, once concentrated by a lens, is violent enough to shatter glass in seconds.
A giant telescope is not essential for a low-altitude eclipse. In many cases, binoculars with solar filters, or a moderate camera lens in the 200 to 400mm range, are more realistic than hauling heavy equipment through crowded travel routes. For the August 2026 eclipse in particular, with totality occurring close to the horizon in Spain, the Sun will be very low in the western sky at that point. A wide-field pair of filtered binoculars often gives a more satisfying view than a narrow, high-magnification scope that is harder to keep on target.
4. The Dedicated Solar Telescope: Mid-Range Serious Kit ($150-$600)
Once you’ve watched an eclipse through filtered binoculars and want more, the next step is a dedicated solar telescope, an instrument built from the ground up for daytime solar observing, with integrated filtration and often a contrasting view that white-light film alone can’t match.
Hydrogen-alpha (H-alpha) filters are far more specialized. They isolate the deep-red light emitted by hydrogen atoms in the Sun’s chromosphere, revealing solar prominences, filaments, and the roiling texture of the Sun’s atmosphere. Instruments like the DayStar Solar Scout or dedicated H-alpha telescopes offer a completely different eclipse experience, turning the solar disc into a living sphere of fire. The DayStar Solar Scout 60mm is priced from around $695 to $995 depending on the configuration, making it one of the more accessible entry points into hydrogen-alpha viewing. What you gain over standard white-light filtration is the ability to watch the Sun’s plasma arcing off the surface in real time, the same prominences that become visible to the naked eye the moment totality begins, but in vivid detail during the partial phases too.
For those who prefer white-light solar viewing but want a more polished instrument than DIY film, purpose-built refractors (small, straight-tube telescopes) fitted with glass solar filters from brands like Lunt or Coronado can be found in the $150-$300 range. These are compact enough to pack in carry-on luggage, which matters considerably if you’re flying to Spain or Iceland for the eclipse. The tradeoff versus H-alpha is that you see the photosphere (the visible surface layer) rather than the chromosphere above it, but the sunspot detail at this price point is genuinely impressive, and the setup is straightforward enough for anyone.
5. The Photography Setup: DSLR or Mirrorless With a Solar Filter ($200-$800 Depending on What You Own)
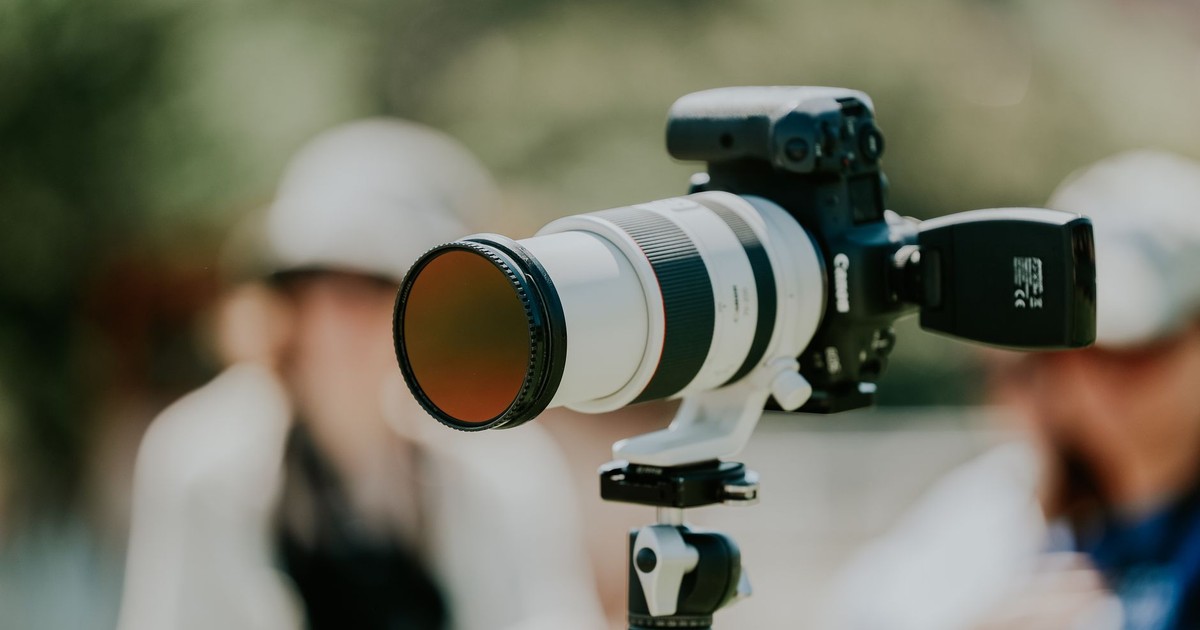
Capturing a solar eclipse on camera has its own logic, and it’s somewhat different from simply watching one. The camera doesn’t blink, doesn’t panic, and won’t accidentally look at the Sun during first contact. But it also won’t compensate for a missing filter, a shaky tripod, or the wrong shutter speed, and the eclipse waits for no one.
The starting point for eclipse photography is any DSLR or mirrorless camera with a lens in the 200-600mm range. A 400mm lens on a crop-sensor camera gives you roughly 640mm of effective focal length, which frames the solar disc generously without cropping it too tight. Cover the front of the lens with a sheet of Baader AstroSolar film cut to size and secured with a rubber band or tape, the same material used for binoculars in the previous tier works perfectly here. For exposure, start around 1/1000s at ISO 100 with the filter on, adjust for your specific filter density, and bracket widely. During totality, remove the filter entirely: the corona requires exposures ranging from 1/1000s for the inner corona to several seconds for the outer streamers, so bracketing every half-stop across that range is the standard approach.
One smart move is to rehearse your full sequence. Practice removing the solar filter only during simulated totality, then replacing it immediately. Muscle memory matters when the sky suddenly changes and everyone around you starts shouting. Totality in Spain lasts around 90 seconds in the better locations. If you spend 30 of those seconds fumbling with a lens cap, you’ve lost a third of the event. Run the full sequence at home, in the dark, until it’s automatic.
A sturdy tripod is non-negotiable. The Sun appears to move across the sky faster than most people expect. At high magnification, it can drift out of frame in under a minute without a tracking mount. If you don’t own a motorized tracking head, plan to reframe every 30-40 seconds during the partial phases, and accept that your totality shots will require deliberate attention to keep the corona centered.
6. The All-in-One Smart Telescope: Technology Does the Work ($500-$1,500+)
Smart telescopes have changed the amateur astronomy equation considerably over the last few years, and for solar eclipse viewing they offer something genuinely useful: they find and track the Sun automatically, handle the image stacking and processing in-app, and let you share results in real time without any manual calibration. For someone who owns no astronomy equipment and wants the best possible visual and photographic result without a steep learning curve, this tier represents the most complete solar eclipse kit available.
The ZWO Seestar S30 (around $500) and the Vaonis Vespera Pro (around $1,400) are the two most-discussed options at this price point in mid-2026. Both are compact, app-controlled instruments with integrated solar filters and onboard image processing. Point them at the Sun via the companion app, and they lock on, track, and begin live-stacking images in real time. The resulting solar disc views, showing granulation, sunspots, and active regions, are substantially more detailed than anything achievable with filtered binoculars at a comparable price. The Seestar S30 in particular has developed a strong reputation for solar performance that outpaces its modest footprint and price tag.
Smart telescopes are optimized for one stationary observer looking at a processed screen image, rather than multiple people taking turns at an eyepiece. For a group, pairing one smart telescope with a set of certified eclipse glasses still makes more sense than buying six smart telescopes. But for a solo observer or a couple traveling specifically for the eclipse, the all-in-one approach removes most of the variables that cause people to miss shots they’ve been planning for months.
What to Actually Pack
The best solar eclipse kit is the one you actually bring with you, not the one still sitting on your desk because the bag was too heavy. Spain sits within the path of totality and is a primary destination for eclipse chasers targeting the August 12, 2026 event. During totality, you may view the Sun without eye protection, but during all other phases of the eclipse, you should only look at the Sun when your eyes are properly protected.
For most people watching from Europe, whether in the path of totality or just outside it, the practical minimum is two pairs of certified ISO 12312-2 glasses per person (one backup in case of damage), a phone loaded with a timing app that shows local first-contact and totality times, and a clear understanding of the horizon to the west or northwest depending on your location. Spain offers the most reliable weather and the longest land-based totality, with cities like Burgos and Zaragoza enjoying roughly 1 minute 30 seconds of darkness. Iceland provides stunning volcanic scenery and up to 2 minutes 10 seconds on the Snæfellsnes Peninsula, though cloud cover is more variable. If you want the safest meteorological bet, inland northern Spain is the expert consensus.
Everything else in this list, the filter film, the camera, the smart telescope, adds to that experience in proportion to how much time you invest in using it properly. An uncalibrated smart telescope operated by someone reading the manual on the day will miss the shot. A pair of $8 certified glasses worn by someone who knows exactly when totality begins and ends will deliver one of the more arresting moments most people will ever experience. Get the basics right first. Everything above that is a bonus.
The Part Nobody Tells You Until It’s Too Late

Eclipse veterans talk about their first totality the way people talk about other once-in-a-lifetime experiences. The physical reality of it, the temperature drop, the sudden appearance of planets in a darkened sky, the way birds go silent, is genuinely disorienting in a way that no photograph fully captures. No piece of equipment creates that. The equipment just determines whether you’re fumbling with a lens cap when it happens, or actually present for it.
The single most common mistake people make isn’t buying the wrong filter or the wrong telescope. It’s spending so much time managing their gear that they forget to look up. Whatever tier of solar eclipse kit you put together, build in at least two minutes of totality where you put everything down and do nothing but watch. You don’t need a camera for that part. You just need to be standing in the right place with certified glasses already in your pocket and a rough sense of when second contact, the moment totality begins, arrives at your specific location. The rest is just equipment. The eclipse is the thing itself.
Disclaimer: This information is not intended to be a substitute for professional medical advice, diagnosis, or treatment and is for information only. Always seek the advice of your physician or another qualified health provider with any questions about your medical condition and/or current medication. Do not disregard professional medical advice or delay seeking advice or treatment because of something you have read here.
AI Disclaimer: This article was created with the assistance of AI tools and reviewed by a human editor.